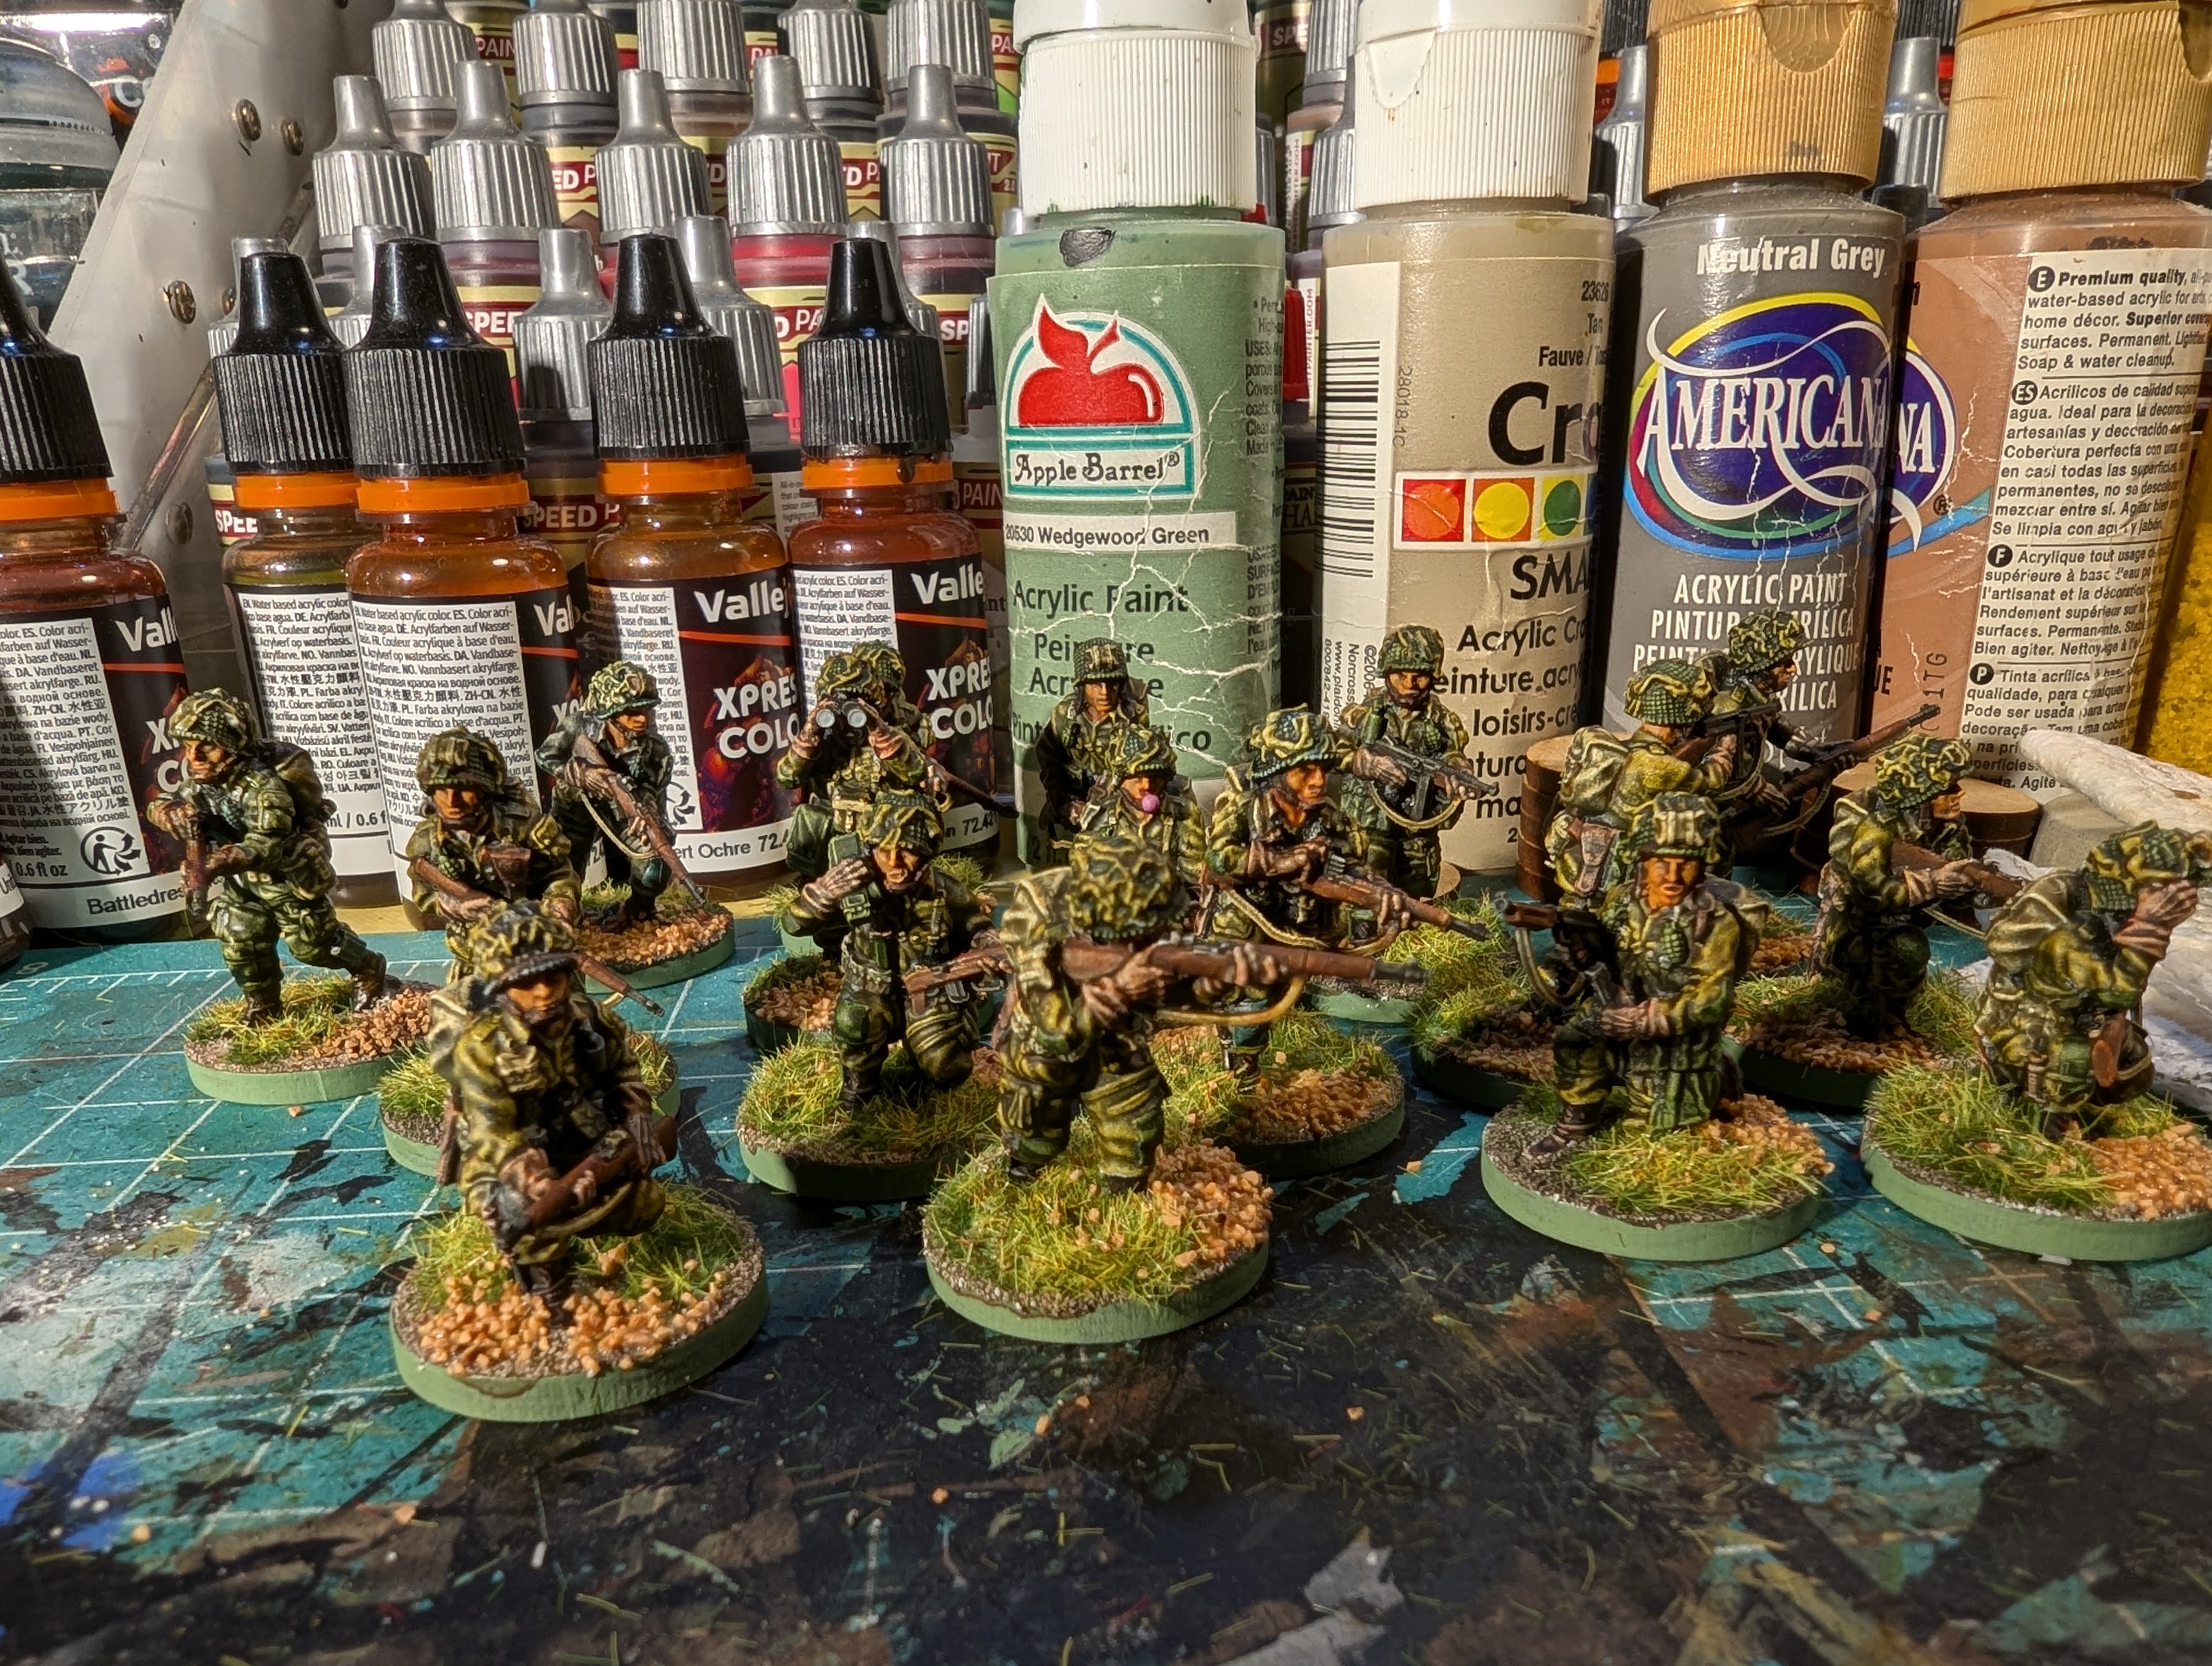
Tuesday, April 16, 2024

Operation Plunder Canadians


 A Canadian 6 pounder next to a 17 pounder. The figures are from the Kickstarter Operation Plunder.

Saturday, April 13, 2024

WW2 Canadian 17 pounder


 This is a combo of the Canadian Crew from the Kickstarter Operation Plunder and the gun from the Tribes on My Mini Factory, Eskice Miniatures.

Sunday, April 7, 2024

French 129th Line Regiment


 These figures are from Piano Wargame Miniatures printed at 18mm. The church and the gabion set are Time Cast.

This unit is painted to represent the 129th Infantry Regiment. They matched into Russia as part of Ney's 3rd Army Corps. 10th Division under Brig Bruny.

The 129th was badly mald at Smolensk and left there. They didn't fight at Borodino. But heavily engaged defending the bridges at Berezina.

Thursday, March 7, 2024

French 33rd Light Infantry


 The 33rd Light Regiment was in the 4th Division of Davout's First Army Corps.

" This Regiment of Dutch origin did not have the same discipline as a Dovout style Regiment. So on the 10th of July, the Marechal had them file past, barrel downwards." F.-G. Hourtoulle
He left them at Smolensk.

Saturday, March 2, 2024

French 7th Light Infantry Regiment


Brig Gerard's 7th Light Infantry Regiment were in the 3rd Division of Marshal Davout's First Army Corps.

These miniatures are 3D printed from Lucus' Piano Wargame Miniatures. I reduced them to 60%. Which got them to the 18mm height. 

They are painted with Speed Paint and other Contrast style paints. Plus highlights with acrylic paint.
 

Sunday, February 11, 2024

Basing, part 4


For the basing I like square 1.5 inch bases from www.litko.net GMB109H. After the miniatures dry from glueing them with pva. I use School Elmers to attach grout sand to the whole base. I think I paid $5 for a one pound bag 10 years ago. The beauty of the grout sand is how fine it is right out of the bag. There's no sifting required.

When that drys I make a wash of brown craft paint. The paint gets absorbed into the sand and wood.  

Then after that drys I get the school glue out again to fasten the static grass from Woodland Scenics and Gail Force 9. My recipe is to first put a dark green grass down and then a spring mix on top. The dark green gives a little shadow and the spring mix pops. The next step is to add the coconut grit.

The final step is to paint the rim of the base Wedgewood green. And I'm done.